Shiplap Wall

A tale of late-night woe.

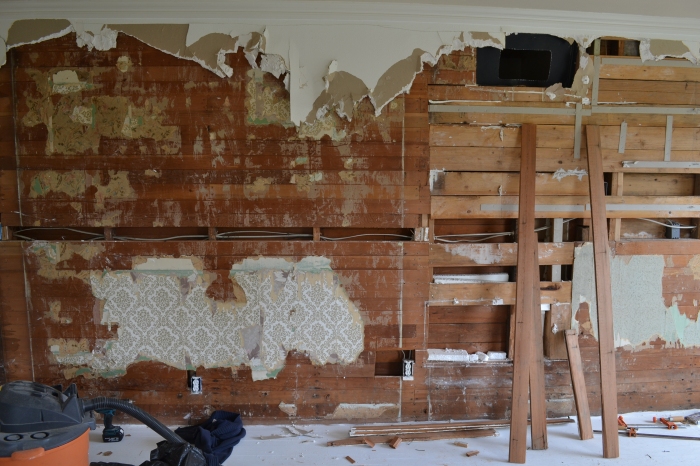
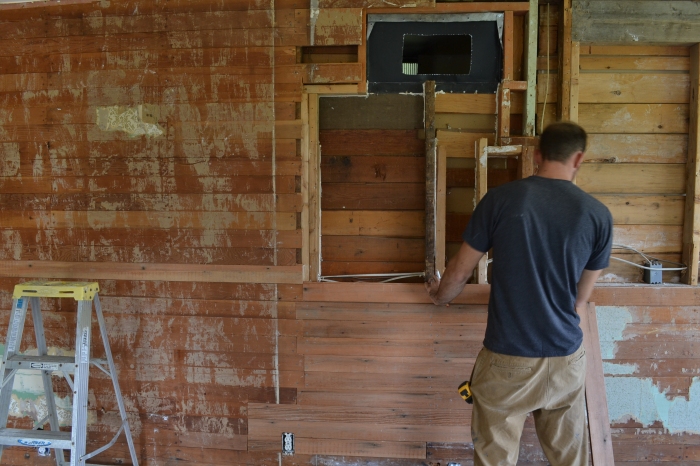
Late one night last fall, Ryan was pulling out flooring in the living room, and I was chucking it out the window onto the burn pile below. I was taking yet another a quick break, and stood staring at the wall of drywall in the living room. Textured drywall no less, which is the very worst kind. Then it occurred to me…just pull off all the drywall. Surely there must be shiplap behind it. (This assumption was loosely based on the findings in the rest of the house.) Ryan liked the idea, and pulled off all the outlet covers to check. As far as we could tell, it was shiplap.

So Ryan started pulling drywall.

We ran into a hole.

Lots of holes.

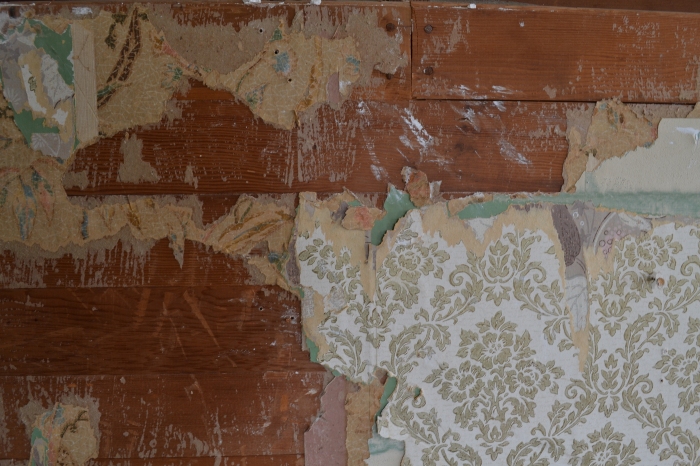
And lots of wallpaper.

So we went to bed.

DSC_0759

The next evening after work, we sat on the floor of the empty room and stared at the wall. Started discussing how we were going to find a product that matched 100 year old fir tongue-and-groove material. Craigslist? The Re-Store? Find an old saw-mill? An old barn to tear down? The ideas were getting ridiculous.

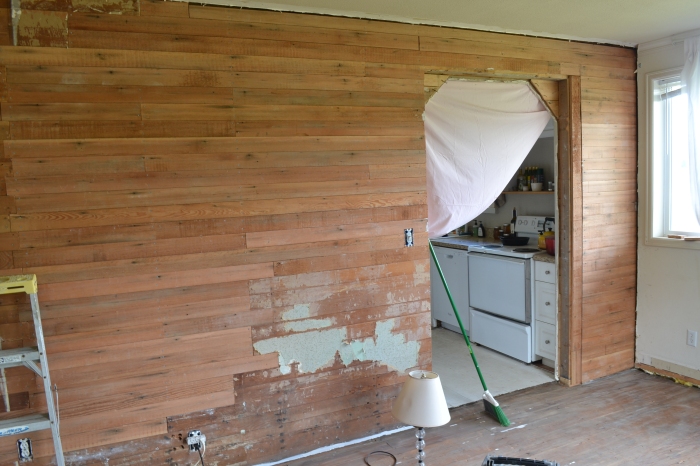
Then we looked down at the painted floors we were sitting on.  Back up at the wall. And back down at the flooring. We jumped up. It was the original flooring! It was 100 year old fir tongue-and-groove material. Just flip it over so the white paint was on the inside of the wall and BOOM! Insta-wall.

Over the next three days we garnered a new appreciation for salvage companies. Trying to pry up flooring without damaging the tongue or splintering the boards, and then banging rusty nails out of them was hard work. Ryan was incredibly patient with it, I won’t mention my attitude.

Ryan went to work patching the wall. DSC_0762
I went to work scraping away five layers of wall paper.
DSC_0757 Then I sanded for what seems like seventy-six years. Wearing a dust mask and ear plugs makes time go by more slowly.
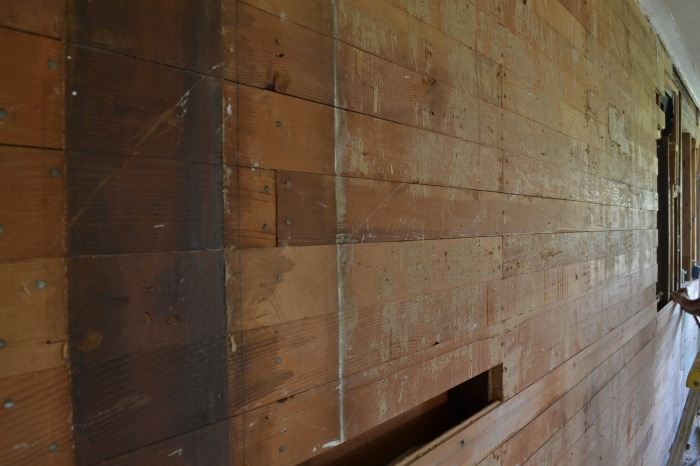
DSC_0767

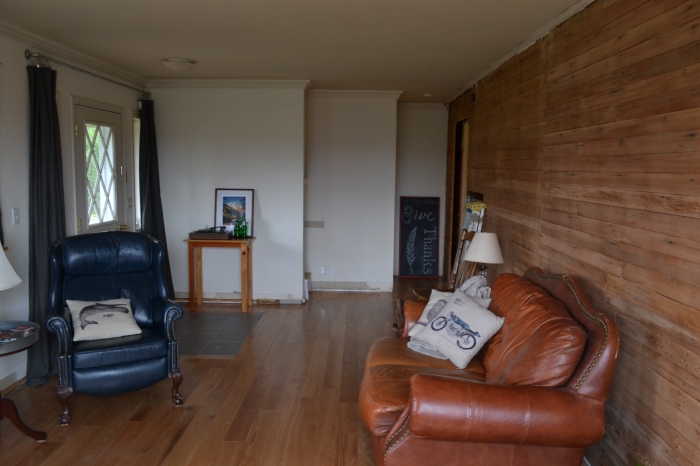
DSC_0763But now it looks amazing. Ryan needs to finish patching around a couple outlets, and insert wiring and mounts for sconce lighting on the wall. Then I will dilute white paint (if we ever manage to choose our white for the house) and whitewash it. DSC_0854
Next up in walls: patching a shiplap wall in the kitchen.

Chalkboards, DIY Style

Chalkboards are trendy, but the indecisive imp inside me loves that it can chameleon into anything you want. (sort of) and when you have a handy husband, you can have any size and shape you want. My quart of chalkboard paint is one of my favorite things in my craft cupboard beside the Modge Podge and my hammer.

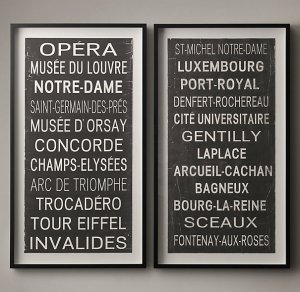
My newest chalkboard didn’t begin that way, it morphed from a failed project. You know these awesome ‘vintage bus scroll’ wall-art pieces from Restoration Hardware?

prod2460824

Pretty awesome, right? But who in real life can pay hundreds and hundreds of dollars for a shadow box with stenciled letters? Especially when I have Ryan and his skills available to me. So he built me a couple shadow boxes. They were perfect, about 2×4 feet, and about an inch and a half deep and painted in a dark grey that was almost a purple.

But then it was my turn and my crafty skills in ratio to my patience failed me.  I couldn’t get the stenciling to look right and crisp. Maybe I had given up on them in my head in the time it took for me to get the paint and plan out the street names.  I do have a very short attention span. (working on that…) Anyway, now I’ve learned the process, and when we have a bigger house, I will give them another go when I have walls big enough to show them off.

In the meantime, I painted over one of them with chalkboard paint and painted the frame red.  I ran sandpaper over the edges to give the frame age and dimension and may end of going over it again with milk paint when I get tired of the red. Then I went searching for inspiration on what to write. If you’re like me and sometimes need a little help…Pinterest and Etsy are your friends. I found the verse I wanted, and printed off someone’s chalkboard as a jumping off point of inspiration.

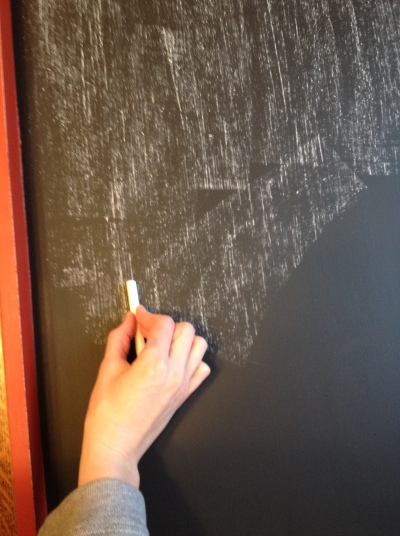
First step on a brand new chalkboard is to prep it. After the paint cures a few days, turn a piece of chalk on its side and coat the whole thing. Wipe it off and then do it again. Use a barely damp rag to wipe it clean, not a chalkboard eraser, which just makes a mess.

photo 4

Tip #1:

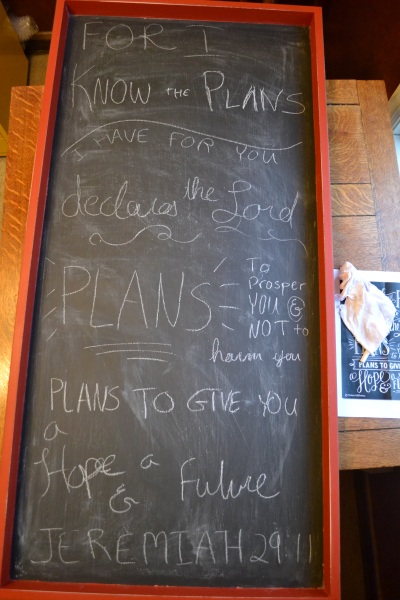
Lay out your words/picture to make sure it fits.  Just scribble it on to see how it fits the space, with curly-cues wherever you’re going to want some.  Here’s my ugly version.

DSC_0963

Then go back, and rub off  the words or phrases one at a time as you work. That way you won’t end up with weird gaps or squished letters (hopefully).

Tip #2

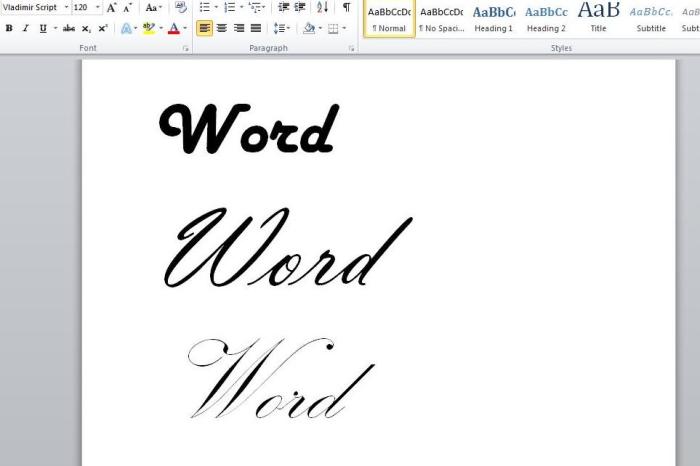
If you need more ideas for how to make letter dimensional, choose a cool font in Word and make huge letters in it on the computer screen.  That let’s you see the details and lines of the words to copy. word

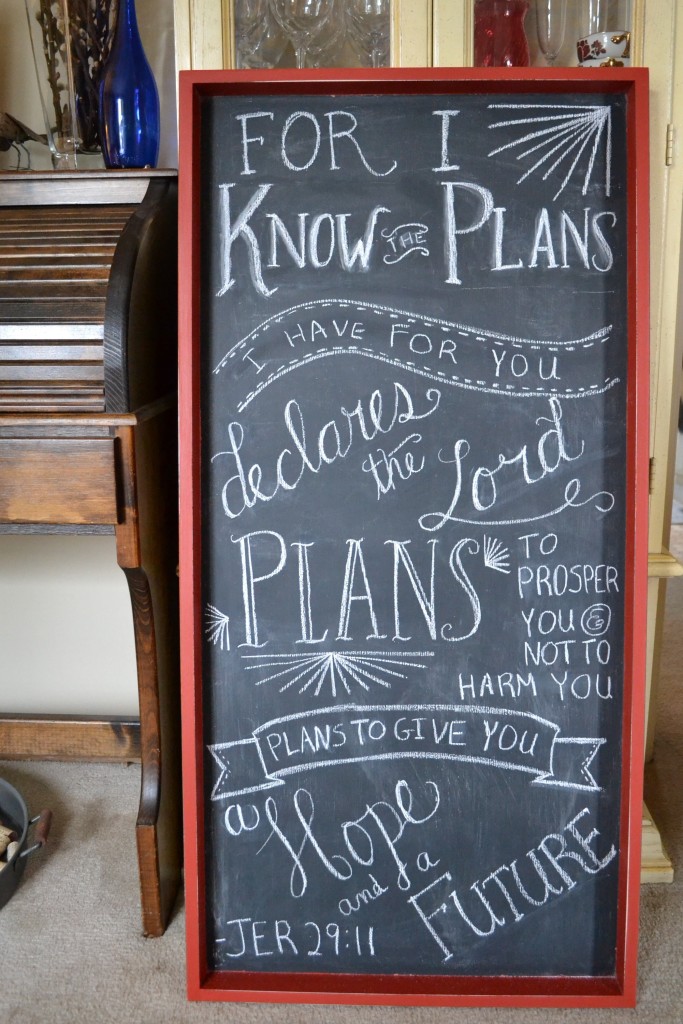
With patience and frequent erasing and redoing and getting chalk dust all over yourself and the dining room table, and forgetting to make dinner, you end up with this:

DSC_0966

I have a place on the wall picked out once Ryan has a chance to tack a wire to the back to hang it.

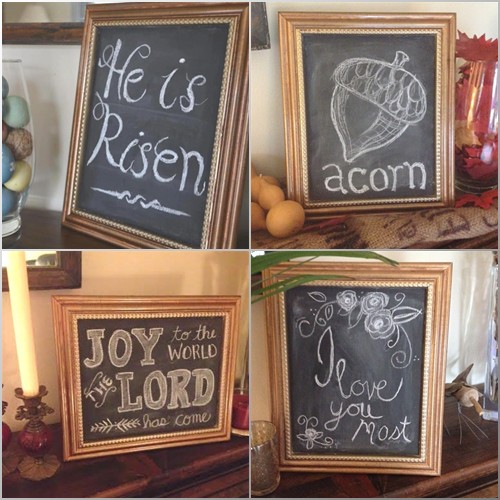
Here’s our little 8×10 chalkboard that changes with the seasons. It was a cheap plastic picture frame  but with the last of a bottle of bronze spray paint and chalkboard paint, it became this cute little guy.  It takes about 20 minutes to change it, which makes it much more manageable than the big one. Here’s  a few changes from this past year:

picture2life_74772_original